Quick start
WireHub runs as a Docker Compose stack: the app, PostgreSQL and an S3-compatible file store. You need Docker with Compose, and one file.
Start the stack#
mkdir wirehub && cd wirehub
curl -fsSLO https://raw.githubusercontent.com/formless63/wirehub/main/compose.yaml
docker compose up -d
docker compose logs wirehub        # the first-run setup code
A one-shot bootstrap service generates every secret into a secrets volume the first time, so no .env is needed to try it. In a Docker UI (Portainer, Komodo, Dockhand), paste compose.yaml as a stack, deploy it, and read the code from the wirehub container's log.
Choose your options#
To change the public URL, the port, backups, or to use your own PostgreSQL or S3, put the choices in a .env beside compose.yaml. The config generator writes both files from a few choices. It runs in your browser and sends nothing.
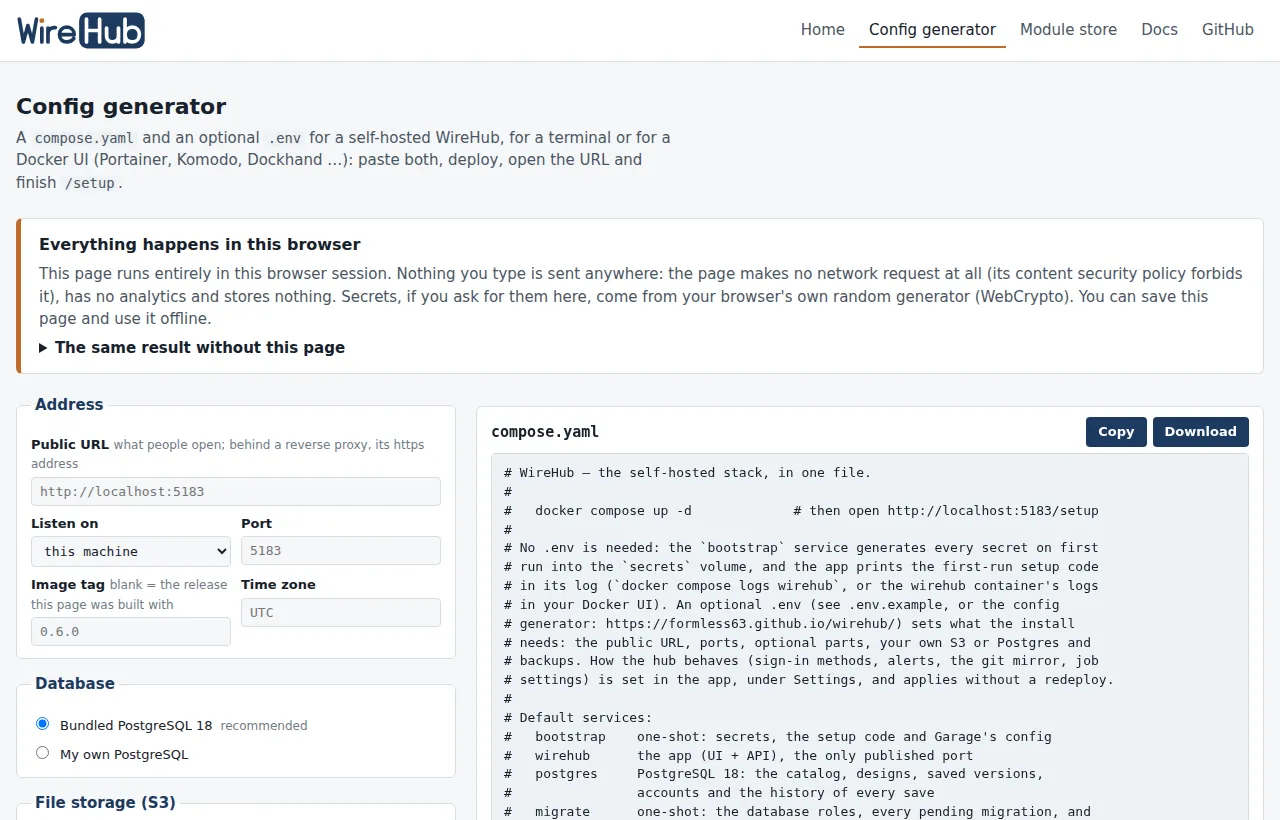
First-run setup#
Open http://localhost:5183/setup. Until setup is finished, nothing else on the hub answers. It asks for, in order:
- The setup code from the log.
- The organisation: a name and a short name. They appear on the documents you print.
- The admin: your name, email and a password of at least 12 characters.
- The catalog: the starter catalog (a few example designs and the generic parts they use), or an empty one.
- The domain modules to add: PC and serial, Networking, Pro audio, AV and video, Automotive. None is ticked unless your deployment suggested some, and you can add more later.
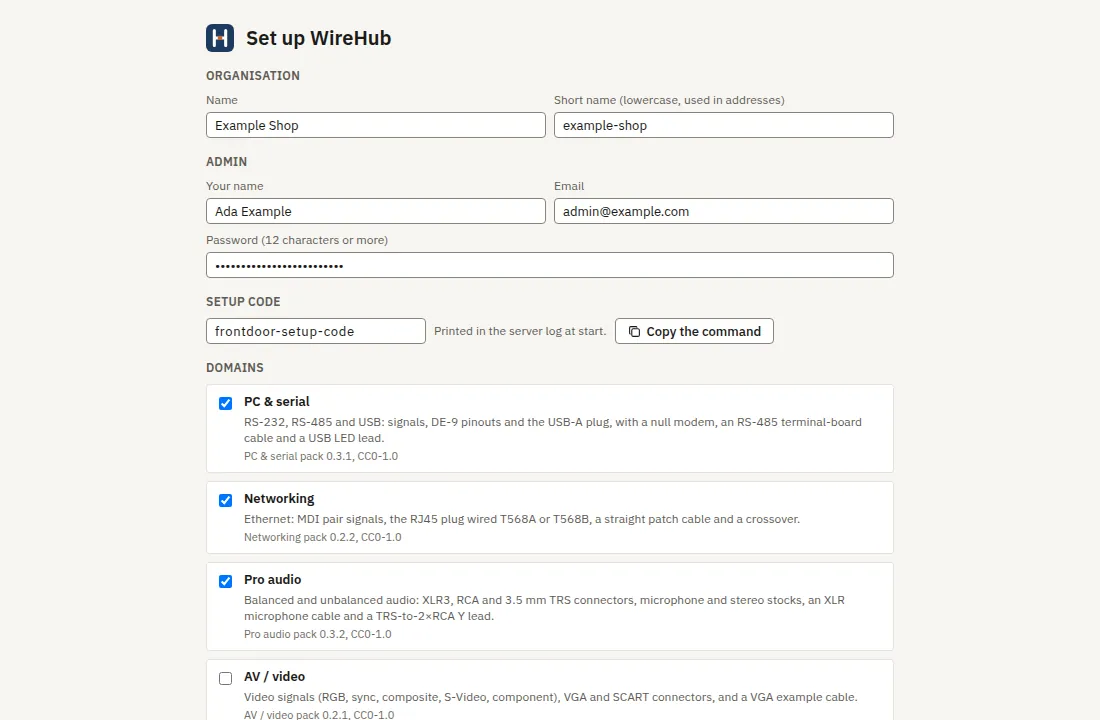
Finishing signs you in and opens the app on the designs list.
Invite people#
People (the people icon in the left rail) creates invitation links, each valid for 7 days, with a role:
| Role | Can |
|---|---|
| Owner | Manage people and hub settings |
| Editor | Change designs and the library |
| Viewer | Read |
Single sign-on (GitHub, Google or OIDC) is added later under Settings > Sign-in and accounts.
Next#
- Make your first design with the wizard, wire it on the canvas and get a build sheet.
- Self-hosting essentials for URLs, TLS, backups and upgrades.